You’re Probably Overwatering It
Nothing kills a plant faster than overwatering. You might’ve heard this before, but what does that actually mean? In this blog post, we are going to cover what overwatering means, what an overwatered plant looks like, how to identify when to water your plant, and how to fix an overwatered plant. Once you get a handle on your watering habits, you’ll be a plant expert in no time!
I am firmly in the camp that claims watering issues are the number one killer of all houseplants. While others might focus on light (which is, of course, extremely important), I think most issues come down to watering—anything else you do to care for your plant (like lighting, soil type, etc.) just helps you manage those common watering issues.
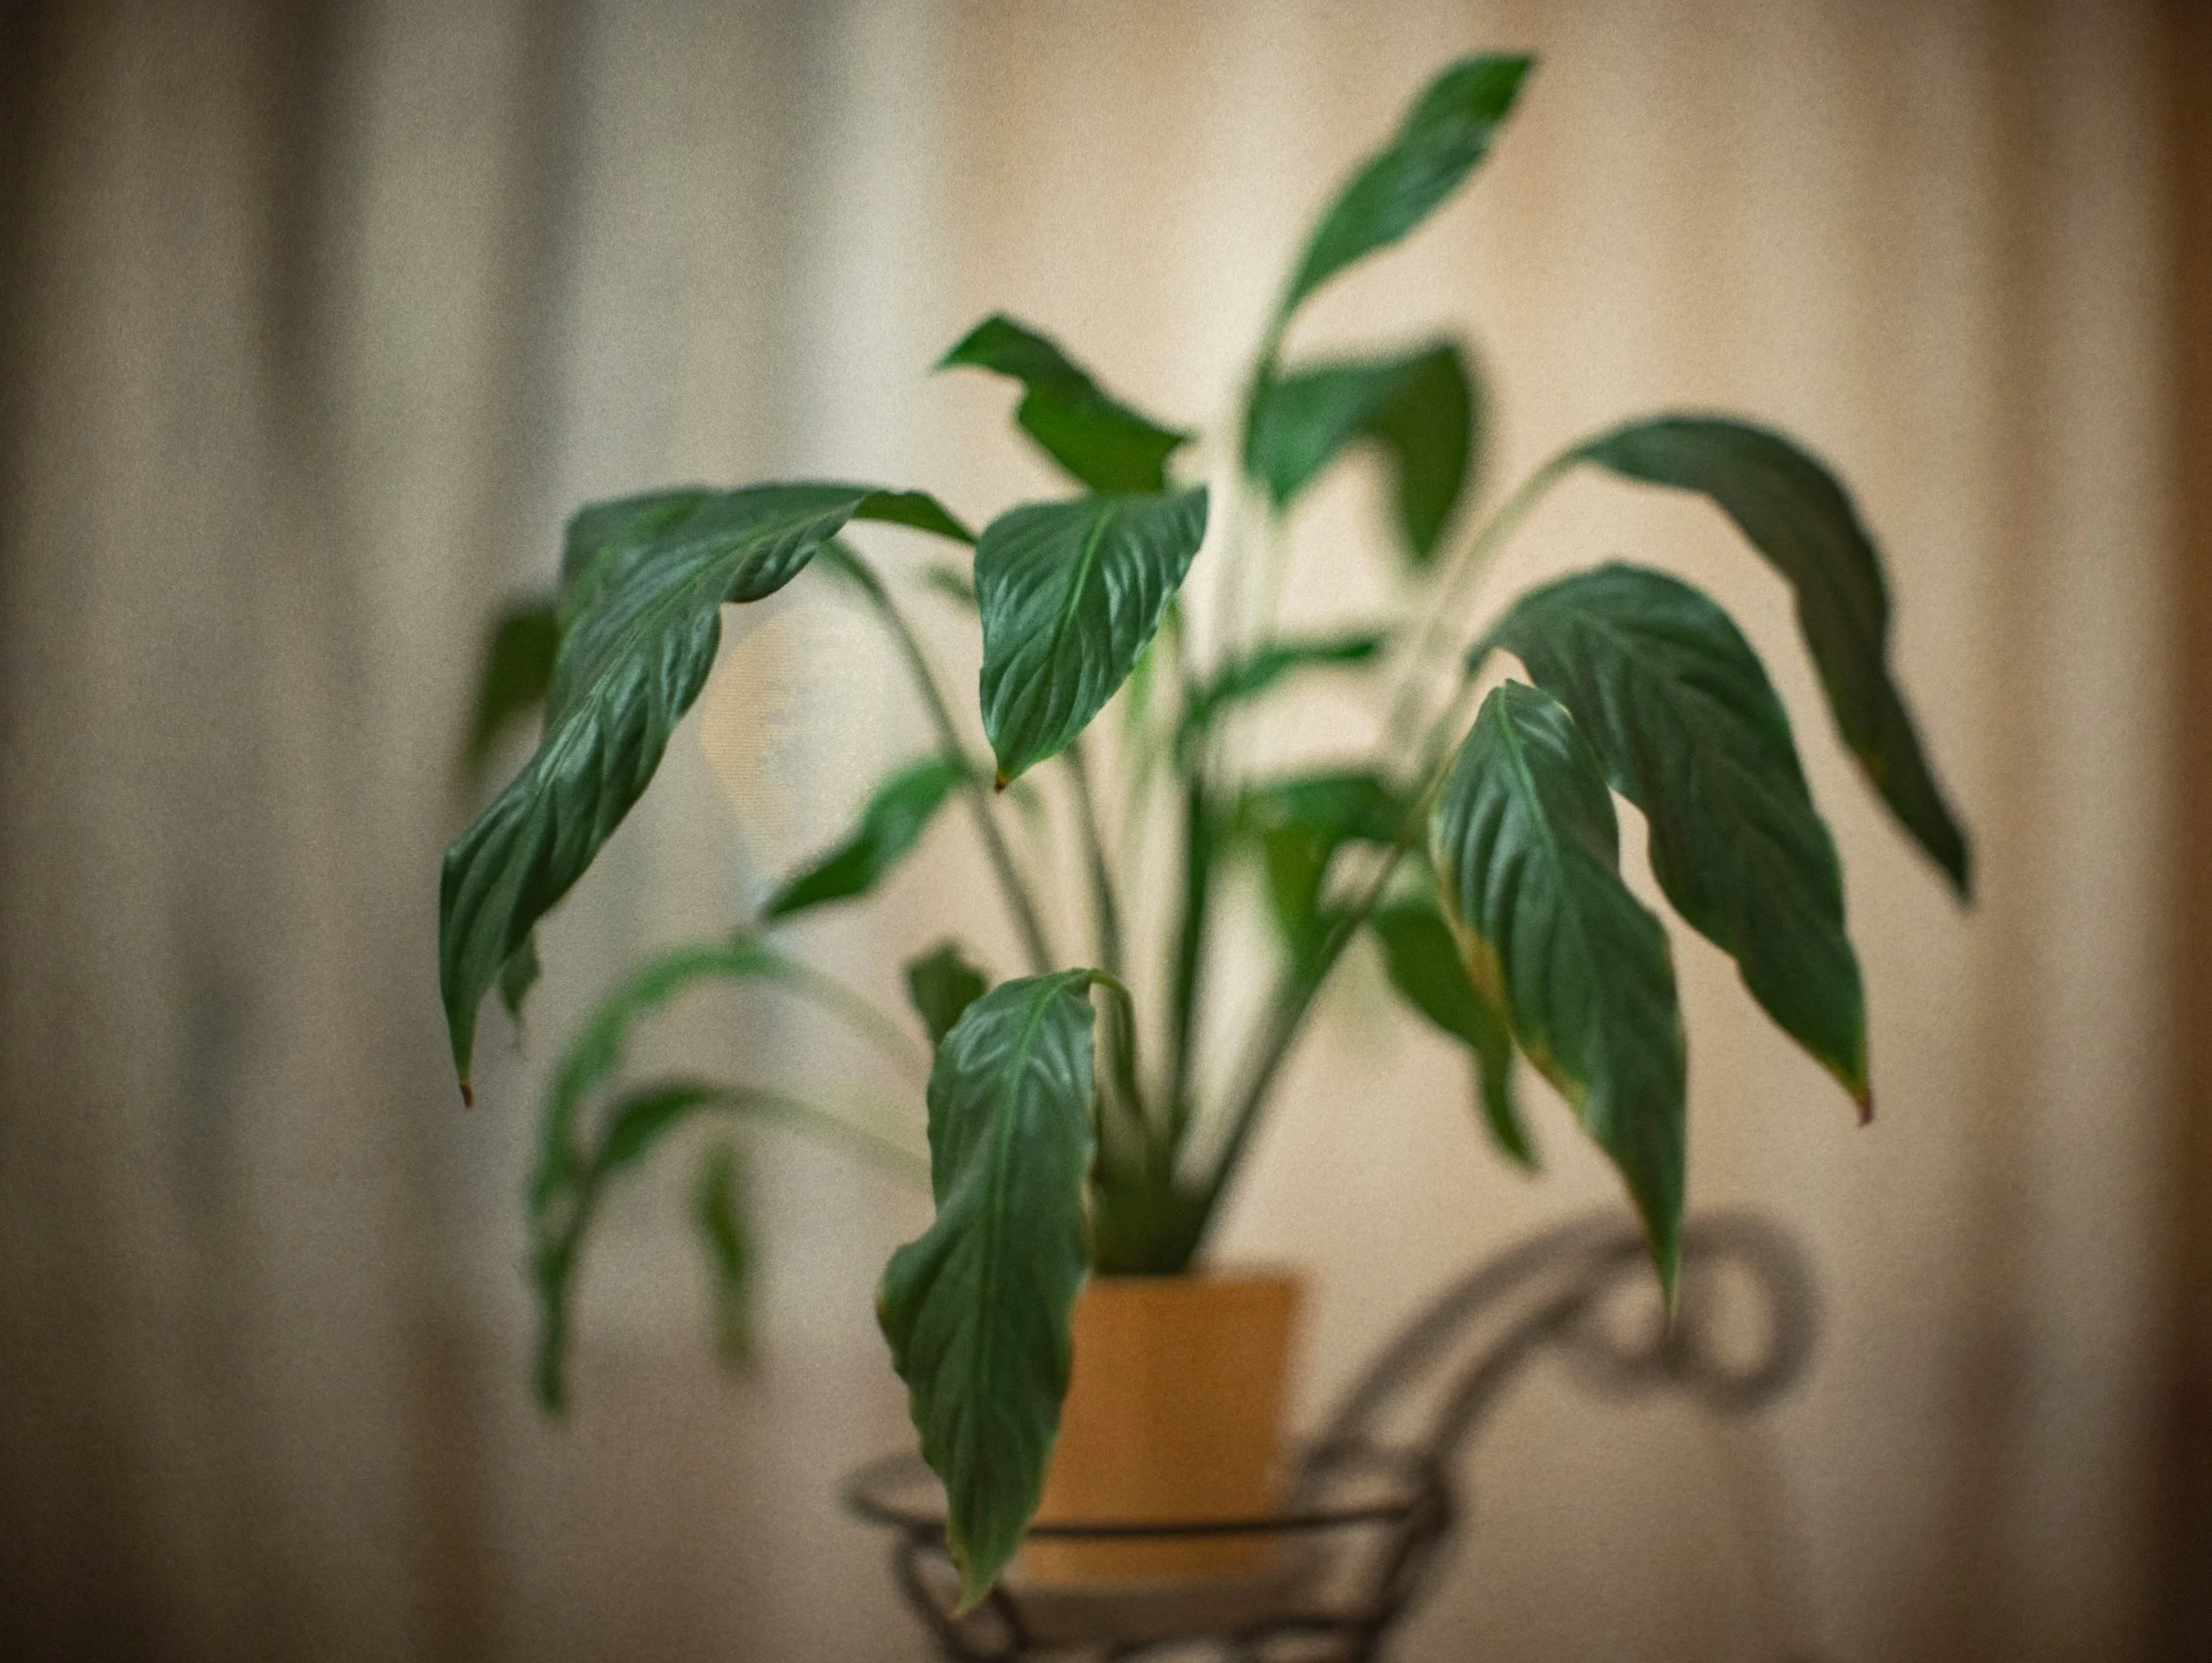
Overwatered peace lily. Source: Unsplash
What is overwatering?
Overwatering is not about how much water you give a plant at one time, but rather, how often you water it. For the most part, houseplants can tolerate a once weekly watering with no issue. However, if you are looking to take your plant care to the next level, or you struggle to keep anything alive at all, start with a good watering routine.
Some plants will never make it a full week between waters, and allowing them to go dry will only cause leaf drop & reduced growth. Others will succomb to root rot if watered weekly.
So if watering is the number one enemy of houseplants, why can I grow almost anything in just water? Well, in water plants develop what are called, “water roots,” which are different than soil roots. Water itself is oxygen rich, which plants need to survive. Those water roots are used to nothing getting in their way of oxygen. When placed in soil, if that soil stays too wet or becomes compact, your roots will essentially suffocate—they won’t have access to oxygen. This is why a good chunky houseplant soil mix is so important for growing your plants in soil.
Overwatering can be caused by a number of other things besides just watering too often. Too large of a pot, a lack of drainage, & too little light can all lead to an overwatered plant. Essentially, in these cases, the plant is not able to use up the water you’ve given it before bacteria is able to create root rot.
What does an overwatered plant even look like?
Overwatered plants are often accompanied by moldy or mildewy soil, fungus gnats, a rotten smell, yellowing leaves, mushy stems & leaves, and little to no new growth. You’ll often see any new growth quickly dying off, unlike an underwatered plant which will kill older leaves first. If left in its overwatered state for too long, your plant will develop root rot, which is when the roots themselves begin to decay & eventually completely die off. Once your root system is decimated, the foliage will quickly follow.
How do I know when to water my plant?
The simplified version of this is: water when dry. Now, where it gets confusing is not all plants want to dry out 100%, but some have to. As you continue on, you’ll start to notice that most plants fall into one of three categories: water when half dry, water when mostly dry, or water when completely dry. A simple Google search, or asking an employee at your local plant shop, will tell you which your new plant falls into.
There are multiple ways to check how dry your plant is. My personal favorite is to check by weight, but when I’m just not sure, I’ll always resort to using the finger test. Your other options, which are great for beginners, include using a wood chopstick or purchasing a moisture meter.
Checking your plant by weight
Most of the weight that your plant has comes from the water held by your soil. When a plant has just gotten a heavy watering, it will be at its heaviest. When it is completely dry, it’ll feel light as a feather.
When we water plants in our shop, we walk through each display picking up each & every plant to feel how heavy they are. For us, it is second nature. We have a pretty good muscle memory for what a full plant should feel like in each pot size. And truthfully, that usually comes for most plant owners within 2-3 watering cycles. For my plants that need to dry about halfway, I guess when they feel significantly lighter, but not quite at that feather stage. For mostly dry, there will still be a little heft behind the plant, but it’ll mostly feel light. For those completely dry plants, it will feel like I am holding an empty pot.
At home, I use this with my few plants in decorative nursery pots, judging their current weight against what I remember them to be the last time I watered. But, this technique generally works best with plants potted in nursery pots (plastic pots typically used by greenhouses).
This technique is an educated guess when it comes to watering, and might feel overwhelming to some. If that sounds like you, try out the following technique:
Checking your plant using the finger test
Go ahead and give your plant’s soil a good fingering. Really dig in there if you aren’t sure. When I test by the finger method, I’m usually looking to double check my suspicions based on weight, so I want to be absolutely sure of the water level. To do this, I work my pointer finger into the soil at the side of the pot, digging as far down as needs to be dry before I water. I’m feeling for moisture, which feels cold to the touch. This generally leaves a finger sized hole in the soil where I tested, which I will re-cover by just moving the soil around using my hand or gently squeezing the pot to redistribute it.
This method gets your hands a little dirty, but it is my tried & true.
Checking your plant using a moisture meter
Most beginners like to start here. And while moisture meters are wonderful (we still sell them!), they require a little maintenance most people don’t know about. Mositure meters measure the electrical conductivity on contact using sensors. I won’t go into all the gritty details here, but most of the meters you’ll find at a beginner price range use metal probes, working like a kind of battery. Over time, they can corrode & stop working accurately. These meters often come in the box with some corrosion. So what can you do? You can clean the metal probe using a fine sandpaper or scotch brite to remove any corrosion.
Like most products on the market, you can always find better, more accurate versions that will give you more consistent results, but as a beginner who is learning how to water, keeping it simple is great! Your analog version of a moisture meter is going to be a wood chopstick.
Just like you test brownies to see if they are ready to come out of the oven, you can test your soil to see how wet it is. You’ll poke your chopstick in as far down as needs to be dry, then remove it, inspecting it for any pulled up wet dirt. In our shop, we keep wood skewers for demostration & to give to new plant lovers.
Oh no! I overwatered my plant. Can I fix it?
In short, maybe. This depends on the specific plant’s root system & how long it has been sitting in too much water. A finer root system will decline much faster than a thick or tuberous one. The only way to know if a plant will survive is to give it a fighting chance. Whatever you do, don’t stop watering your plant & wait for it to dry out. The longer you wait, the less chance your plant has to survive.
Repot it immediately
The moment you suspect you’ve overwatered your plant (usually you’ll notice some signs of decline or just feel like the plant isn’t drying out fast enough), you need to remove it from its pot & replace its soil. Once you de-pot your plant, you’ll be able to take a closer look at its root system & access the damage. You’ll be looking for signs of rot: black mushy roots or a rancid rotting smell. If you find either of those, you’ll want to remove the infected roots using sterilized pruning shears or scissors before treating with a diluted hydrogen peroxide spray. Using hydrogen peroxide will help to kill any of the bacteria that may be causing your root rot, helping to stop the spread.
Once you’ve address the roots, you’ll want to remove any wet, muddy soil from the plant before placing it into a new, chunky houseplant mix. At this point, you may need to down-pot your pot depending on the remaining root ball. Your pot should be 2-4” larger than your root ball. Be sure to sterilize or clean your pot before repotting.
After you’ve successfully repotted your plant, the last thing you might think it needs is water. But, watering it is actually how you’ll best help it recover from all the shock treating it caused. Give it a thorough watering and place it under good light. In the shop we like to use mycorrhizal fungi & Prop Drops (rooting hormone) to help the plant recover better.